Ваш самокат вышел из строя, и вам необходимо заменить аккумуляторы. Делать это самостоятельно рискованно, а ошибка может стоить дорого. Я проведу вас через этот процесс безопасно.
Чтобы безопасно заменить аккумуляторы самоката, всегда сначала выключайте питание и вынимайте ключ. Затем отсоедините старые батареи (сначала отрицательные), установите новые и соедините их положительный с положительным (красный) и отрицательный с отрицательным (черный), убедившись, что все соединения затянуты.
Это одна из наиболее распространенных работ по техническому обслуживанию любого самоката. Через пару лет батареи просто не держат заряд, как раньше. На моем заводе мы проектируем наши самокаты так, чтобы этот процесс был максимально простым. Хотя многие люди отдают свой самокат дилеру, эту работу вы определенно можете выполнить дома. Вам просто нужно быть осторожным и следовать инструкциям в правильном порядке. Ошибка может быть опасной и дорогостоящей, но сделать это правильно – это просто и сэкономит вам деньги.
Какие инструменты и меры безопасности необходимы?
Вы хотите приступить к работе, но не знаете, что вам нужно. Использование неправильных инструментов или пропуск мер безопасности может привести к поломке самоката или даже поражению электрическим током.
Вам понадобятся только основные инструменты: отвертка и гаечный ключ. Наиболее важные меры безопасности — отключить все питание, вынуть ключ и надеть перчатки, прежде чем прикасаться к чему-либо.
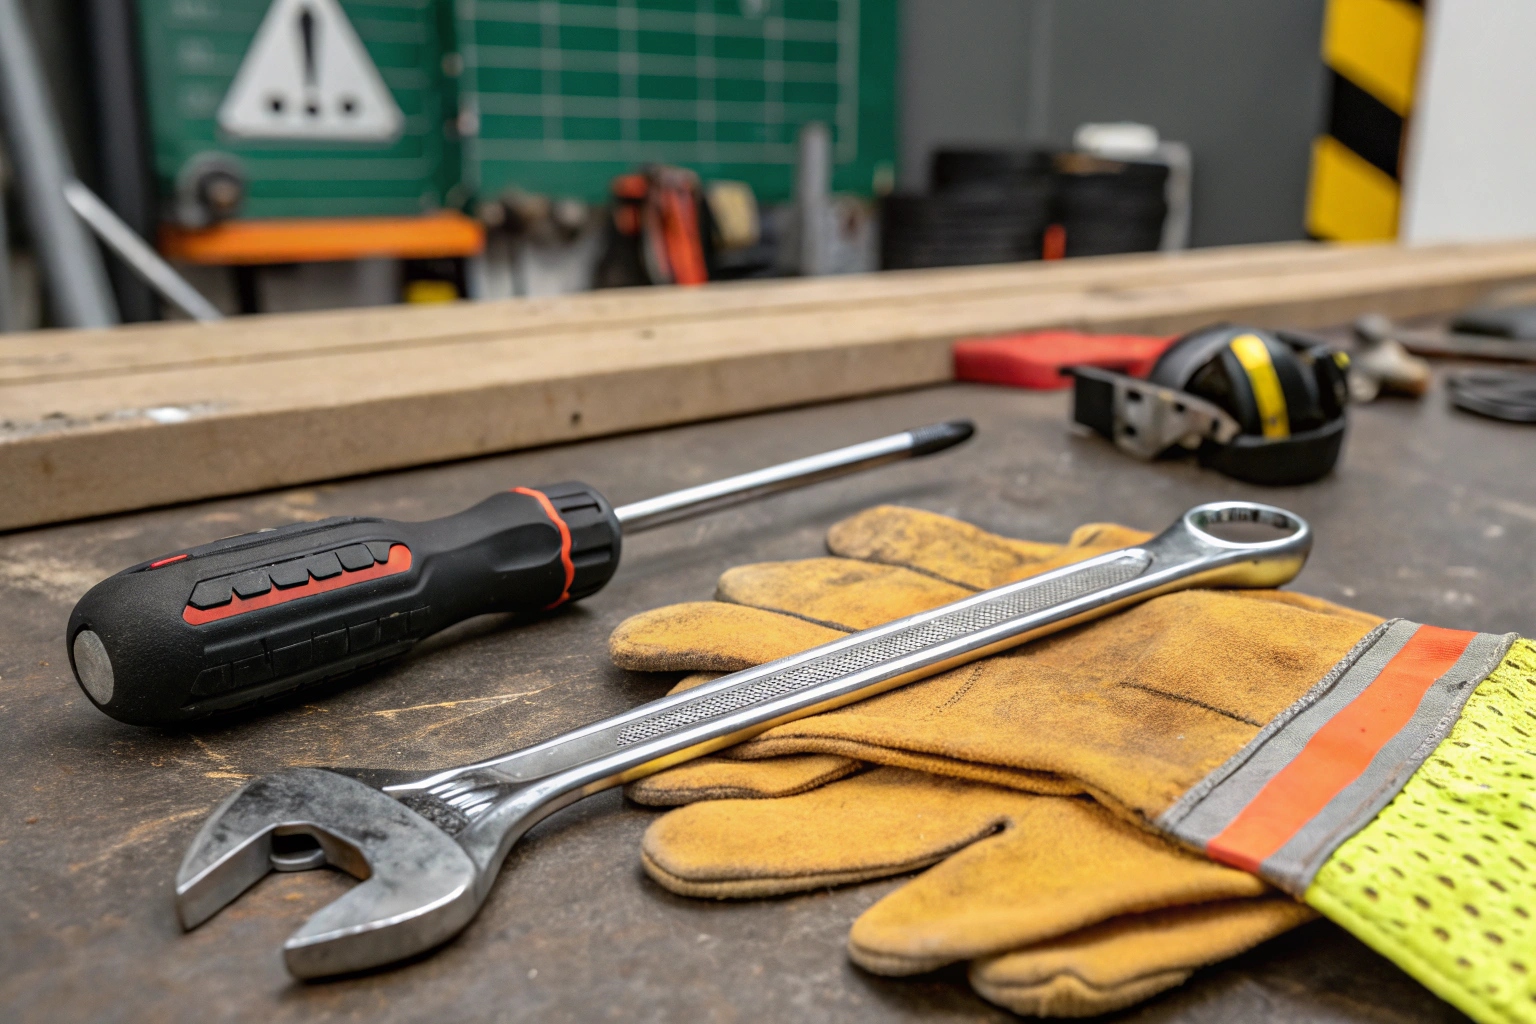
Для этой работы вам не понадобится набор инструментов профессионального механика. Мы проектируем наши автомобили так, чтобы их можно было обслуживать с помощью простых ручных инструментов. В приоритете здесь не сложность инструментов, а безопасность процесса. А аккумулятор хранит много энергии, и это нужно уважать. Небольшой металлический инструмент, случайно коснувшийся не тех двух мест, может вызвать сильную искру и короткое замыкание. Вот почему так важно соблюдать безопасный порядок действий.
Вот точные шаги, которым я обучаю всех наших новых технических специалистов:
- Полностью отключить питание: Переведите выключатель питания самоката в положение ВЫКЛ и, самое главное, вынуть ключ из замка зажигания. Это предотвращает вероятность случайного включения системы во время работы с ней.
- Работайте в хорошем пространстве: Убедитесь, что вы находитесь в хорошо освещенном и сухом месте.
- Носите перчатки: Простые рабочие перчатки защитят ваши руки от грязи и копоти.
- Take a "Before" Picture: Прежде чем отсоединить один провод, с помощью телефона сделайте четкое изображение установки аккумулятора. Эта фотография станет вашим идеальным руководством по подключению новых батарей. Это самый полезный трюк в книге.
Как определить клеммы и соединения аккумулятора?
Все красные и черные провода выглядят запутанно. Неправильное их подключение является серьезной проблемой, но есть простая система, которой нужно следовать, поэтому вы не ошибетесь.
Клеммы аккумулятора отмечены плюсом (+) для положительного и минусом (-) для отрицательного. Провода имеют цветовую маркировку: красный – плюс, черный – минус. Просто сопоставьте цвета.
Здесь люди нервничают больше всего, но на самом деле все очень просто. Вся отрасль использует стандартный цветовой код, чтобы избежать ошибок. Ваша задача — просто сопоставить цвета и символы. Давайте разберемся, чтобы невозможно было перепутать.
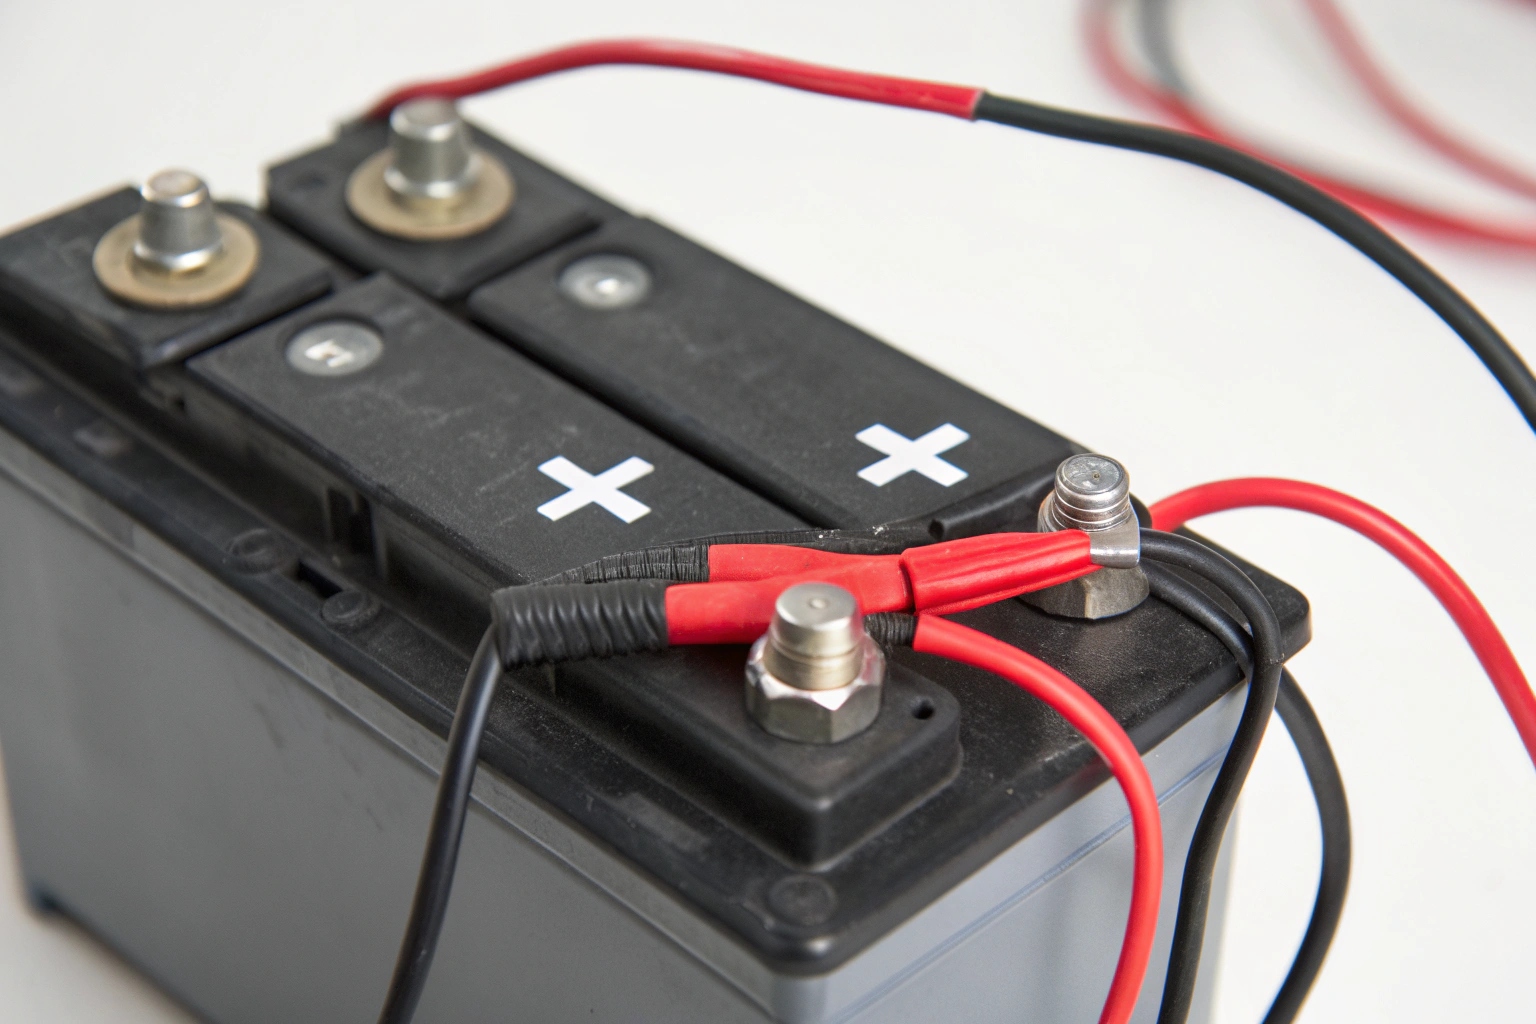
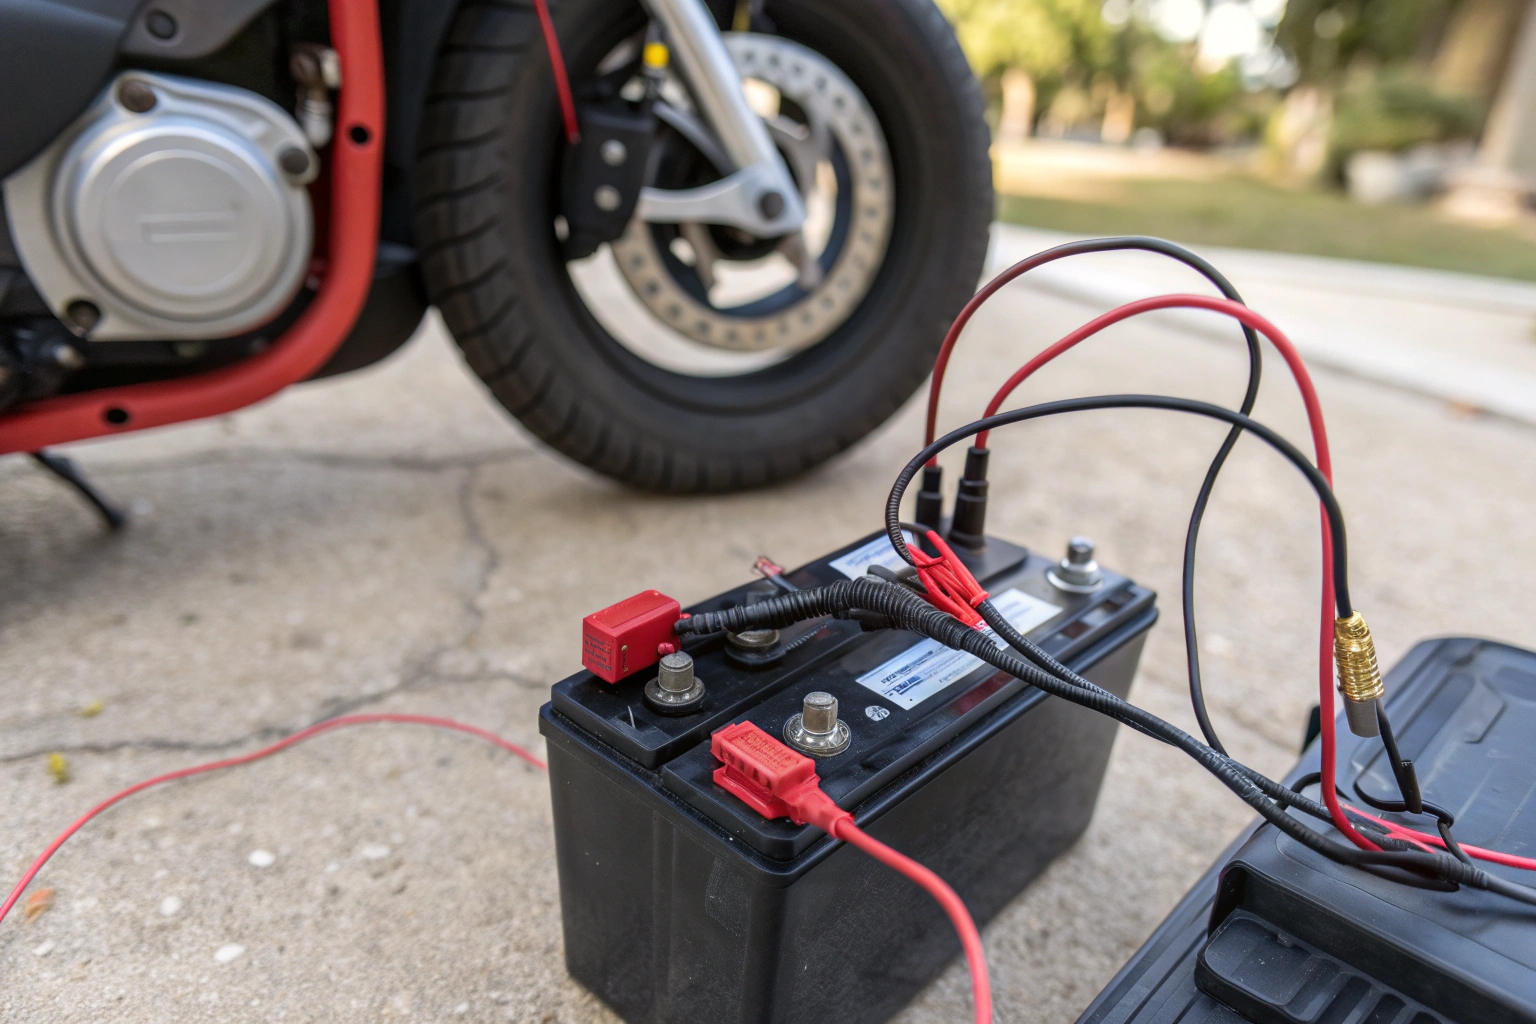
- О батарее: Посмотрите на верхнюю часть ваших батарей. Вы увидите два поста или терминала. У одного будет
+символ, отлитый на пластиковом корпусе рядом с ним. Это Позитивный Терминал. Очень часто он имеет красную пластиковую крышку. Другой терминал будет иметь-символ. Это Отрицательный терминал и обычно имеет черную крышку. - О кабелях скутера: Провода, идущие от вашего скутера, будут иметь один и тот же цветовой код. Красный провод должен подключаться к положительной (+) клемме. Черный провод должен быть подключен к отрицательной (-) клемме.
The "Jumper" Cable
You will also see a short cable connecting the two batteries to each other. This is what links the two 12V batteries to create the 24V your scooter needs. Don't worry about this cable. Your "before" picture will show you exactly how it connects. When you put the new batteries in, just connect this jumper cable first, exactly as it was in the photo.
| Цвет провода/клеммы | Символ | Подключается к |
|---|---|---|
| Красный | + |
Положительный терминал |
| Черный | - |
Отрицательный терминал |
Как заменить аккумуляторы на разных моделях самокатов?
Вы открыли свой самокат, но он не похож на фотографии в Интернете. Найти батарейки и вытащить их кажется невозможным. Обычно это один из двух способов.
Аккумуляторы находятся либо в съемном блоке (обычно на туристических самокатах), либо под пластиковой крышкой под сиденьем (на более крупных моделях). Пакет вынимается, при этом крышку необходимо отвинтить.
Хотя существуют сотни моделей самокатов, мы, производители, обычно размещаем аккумуляторы в одном из двух основных мест. Способ замены у каждого немного разный, но принцип один и тот же.
Для путешествий/складных самокатов (съемная упаковка)
Они разработаны с учетом портативности, поэтому аккумуляторную систему можно легко извлечь.
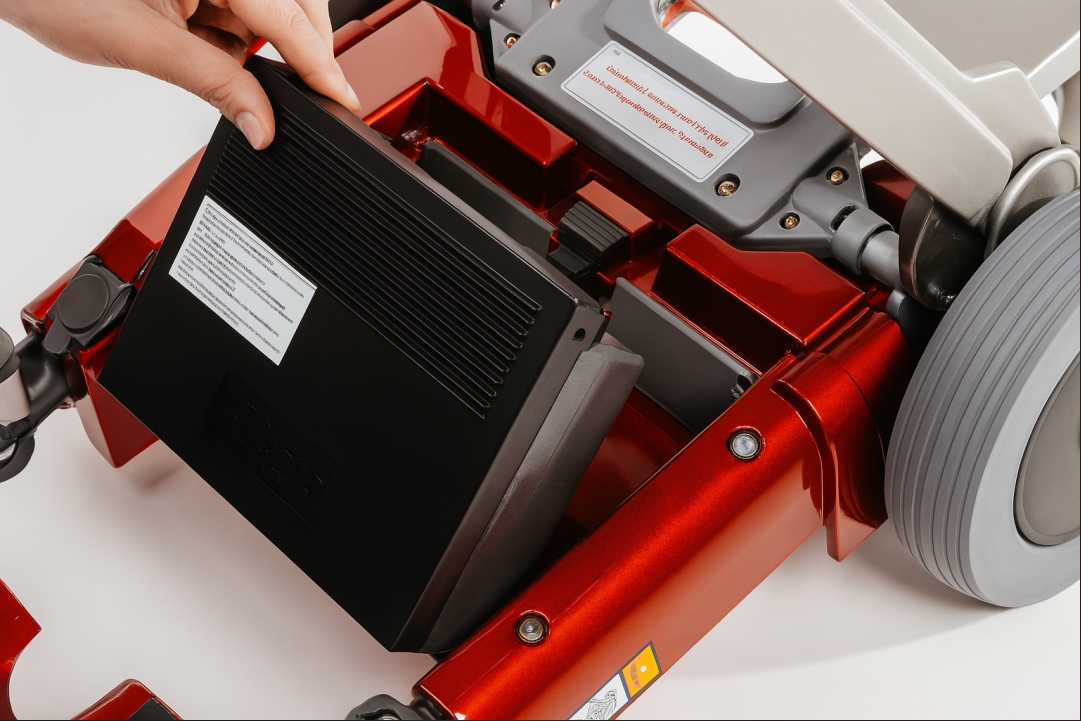
- Найдите пакет: Обычно это одна черная пластиковая коробка, стоящая на полу самоката, часто с ручкой.
- Поднимите его: Часто используется простая защелка, или он просто поднимается вверх и вынимается из самоката.
- Заменить как единое целое: Для этих моделей вы обычно покупаете полностью новый аккумулятор. Вы просто бросаете новую упаковку туда, где была старая. Иногда вы можете открыть упаковку и заменить внутри две батарейки меньшего размера, но большинство людей заменяют устройство целиком.
Для скутеров среднего и большого размера (под сиденьем)
В этих более надежных моделях аккумуляторы являются частью основной рамы самоката, обеспечивающей устойчивость.
- Снимите сиденье: Сиденье обычно просто поднимается вверх и выходит из монтажной стойки.
- Снимите кожух: Вы увидите большую пластиковую крышку над задней частью самоката. Это саван. Его можно закрепить с помощью нескольких винтов или застежек-липучек. Аккуратно удалите его.
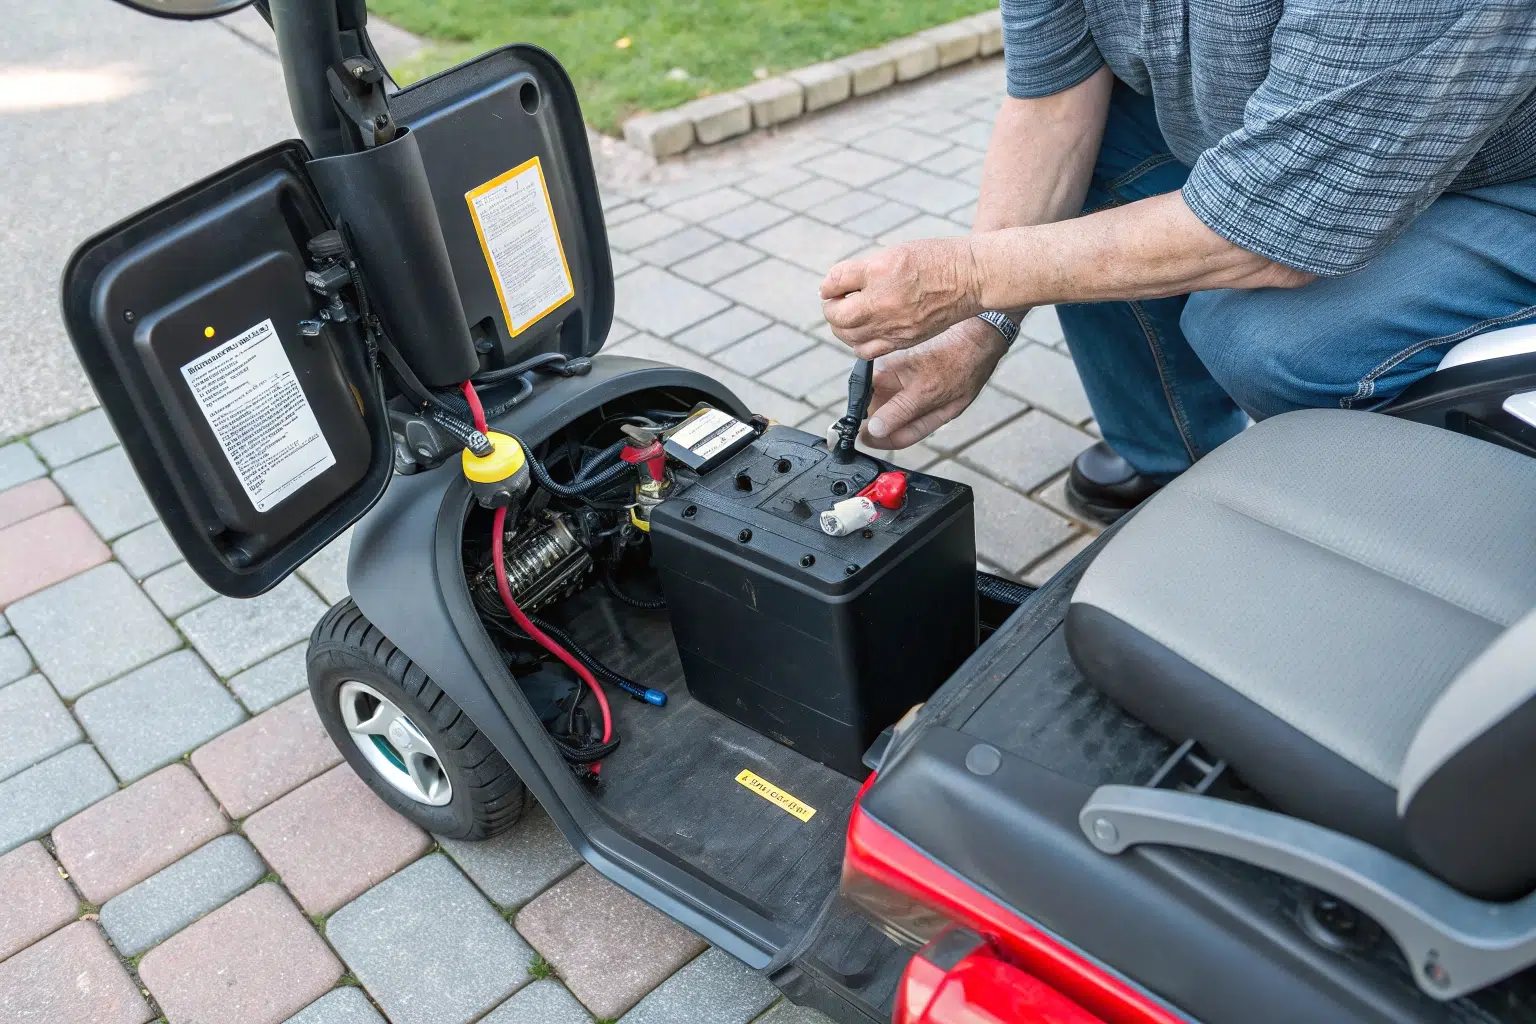
- Доступ к батареям: Теперь внизу вы ясно увидите две батареи на 12 В, закрепленные ремнями и соединенные проводами. Здесь вы начнете их отключать.
Каких распространенных ошибок следует избегать при установке аккумуляторов?
У вас готовы новые батарейки. Простая ошибка может привести к разрушению ваших новых батарей или электроники самоката. Не позволяйте маленькой ошибке стать огромной ценой.
Самая большая ошибка – подключение батарей наоборот (переполюсовка). Это может моментально сжечь контроллер самоката. Всегда подключайте красный к плюсу (+), а черный к минусу (-).
Это самая ответственная часть всей работы. Все предыдущие шаги ведут к этому моменту. Когда я обучаю сервисные команды для наших международных импортеров, я уделяю этому вопросу больше времени, чем чему-либо еще. Подключение аккумулятора с обратной полярностью даже на долю секунды приведет к тому, что электричество будет течь в неправильном направлении через чувствительный электронный мозг вашего самоката.
Вот что произойдет, если подключить красный провод к отрицательной клемме:
- Мгновенный электронный урон: You will likely hear a "pop." That is the sound of your scooter's controller—its most expensive electronic part—burning out. It can also destroy the charger port and other components.
- Перегоревшие предохранители: В лучшем случае вы перегорите главный предохранитель, который предназначен для защиты от этого. Но часто ущерб наносится до того, как предохранитель успевает среагировать.
- Испорченные новые батарейки: Изменение полярности может привести к необратимому повреждению только что купленных новых батарей, сокращению их срока службы или полной их гибели.
- Пожарная опасность: В худшем случае это приведет к серьезному короткому замыканию, которое может расплавить провода и создать серьезный риск возгорания.
Другие распространенные ошибки:
- Свободные соединения: Если не затянуть гайки на клеммах, это может привести к ухудшению работы и возникновению искр. Сделайте их уютными.
- Перетяжка: Не используйте всю свою силу. Чрезмерное затягивание может привести к растрескиванию пластика и поломке клеммы аккумулятора.
- Forgetting your "Before" Picture: Если вы запутались, эта фотография — ваш лучший друг.
Заключение
Замена аккумуляторов самоката — безопасная и простая работа, если соблюдать осторожность. Выключите питание, сделайте снимок, сопоставьте цвета и еще раз проверьте свою работу. Эта простая задача поможет вам сэкономить деньги.
