Sua scooter está morta e você precisa substituir as baterias. Fazer isso mesmo parece arriscado, e um erro pode ser caro. Vou guiá -lo pelo processo com segurança.
Para substituir com segurança as baterias da scooter, sempre desligue a energia e remova a chave primeiro. Em seguida, desconecte as baterias antigas (primeiro negativo), instale as novas e conecte-as positivas a positivas (vermelhas) e negativas para negativas (pretas), garantindo que todas as conexões sejam apertadas.
Este é um dos trabalhos de manutenção mais comuns para qualquer scooter de mobilidade. Depois de alguns anos, as baterias simplesmente não mantêm uma carga como costumavam. Na minha fábrica, projetamos nossas scooters para que esse processo seja o mais simples possível. Enquanto muitas pessoas levam sua scooter a um revendedor, este é um trabalho que você definitivamente pode fazer em casa. Você só precisa ter cuidado e seguir as etapas na ordem certa. Entender errado pode ser perigoso e caro, mas acertar é simples e economizará dinheiro.
Quais ferramentas e etapas de segurança são necessárias?
Você quer iniciar o trabalho, mas não tem certeza do que você precisa. Usar as ferramentas erradas ou pular as etapas de segurança pode levar a uma scooter quebrada ou até a um choque elétrico.
Você só precisa de ferramentas básicas: uma chave de fenda e uma chave inglesa. As etapas de segurança mais importantes são desligar toda a energia, remover a chave e usar luvas antes de tocar em qualquer coisa.
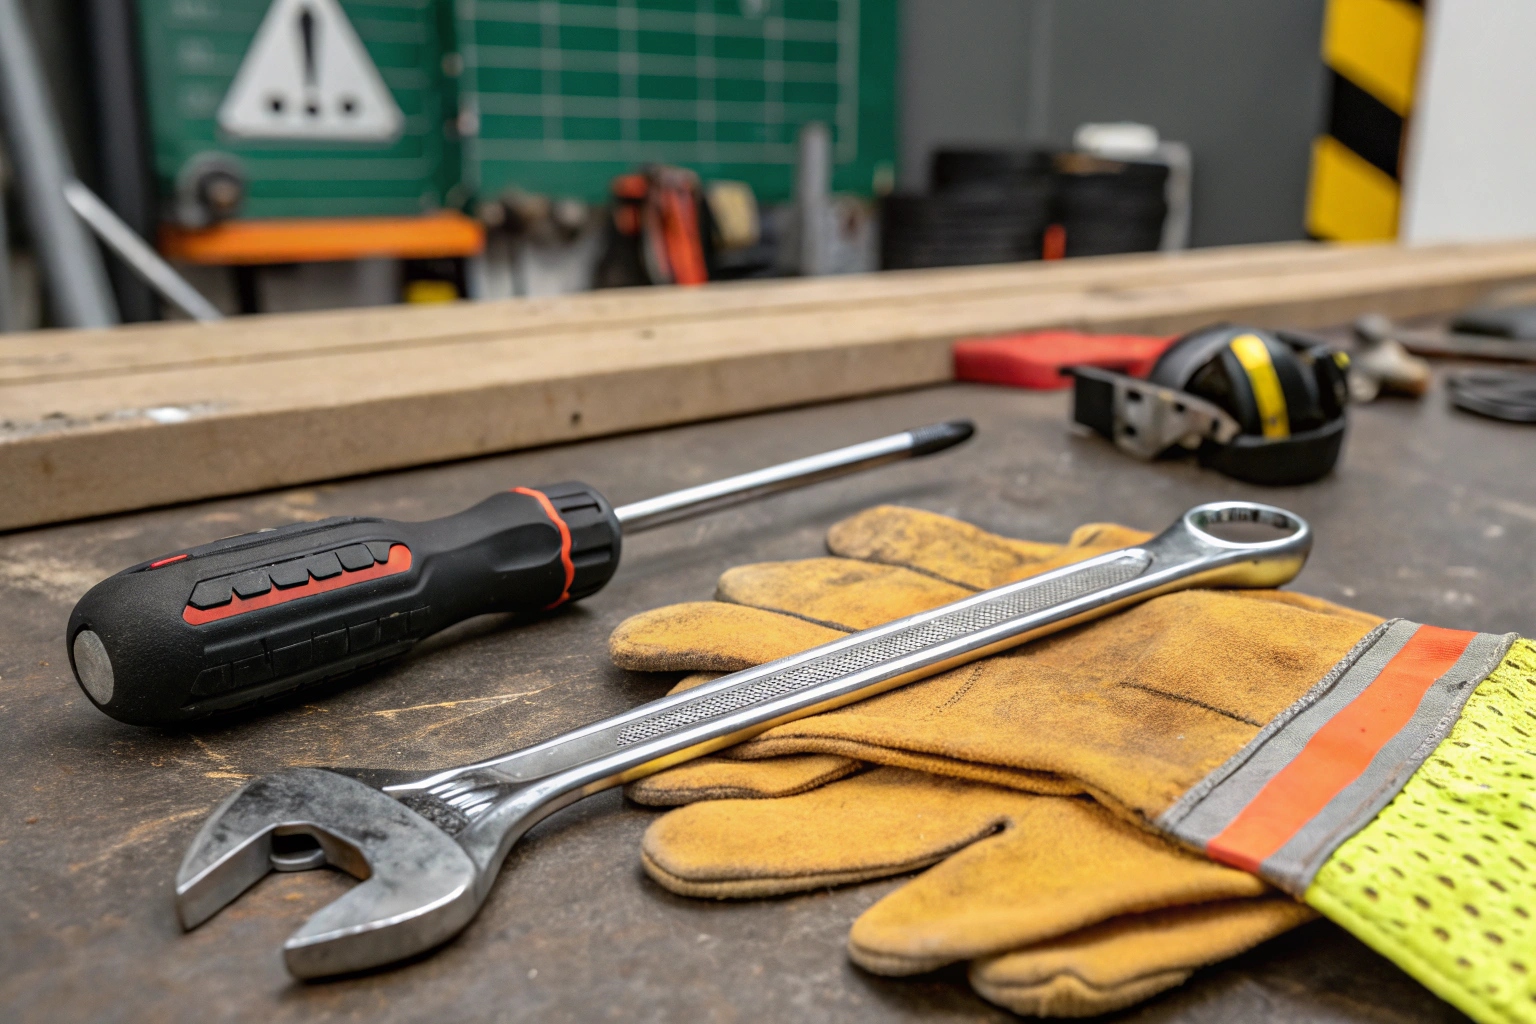
Você não precisa da caixa de ferramentas de um mecânico profissional para este trabalho. Projetamos nossos veículos para serem atendidos com ferramentas manuais simples. A prioridade aqui não é a complexidade das ferramentas, mas a segurança do processo. UM A bateria armazena muita energia, e você precisa respeitar isso. Uma pequena ferramenta de metal tocando acidentalmente os dois lugares errados pode criar uma grande faísca e um curto -circuito. É por isso que seguir uma ordem segura de operações é tão importante.
Aqui estão as etapas exatas que ensino todos os nossos novos técnicos:
- Desliga completamente: Gire a mudança de energia da scooter para fora e, o mais importante, Remova a chave da ignição. Isso impede qualquer chance de ligar acidentalmente enquanto você estiver trabalhando nele.
- Trabalhe em um bom espaço: Verifique se você está em uma área bem iluminada e seca.
- Use luvas: Luvas de trabalho simples protegerão suas mãos da sujeira e sujeira.
- Take a "Before" Picture: Antes de desconectar um único fio, use o telefone para tirar uma foto clara da configuração da bateria. Esta foto será o seu guia perfeito para conectar as novas baterias. É o truque mais útil do livro.
Como identificar terminais e conexões da bateria?
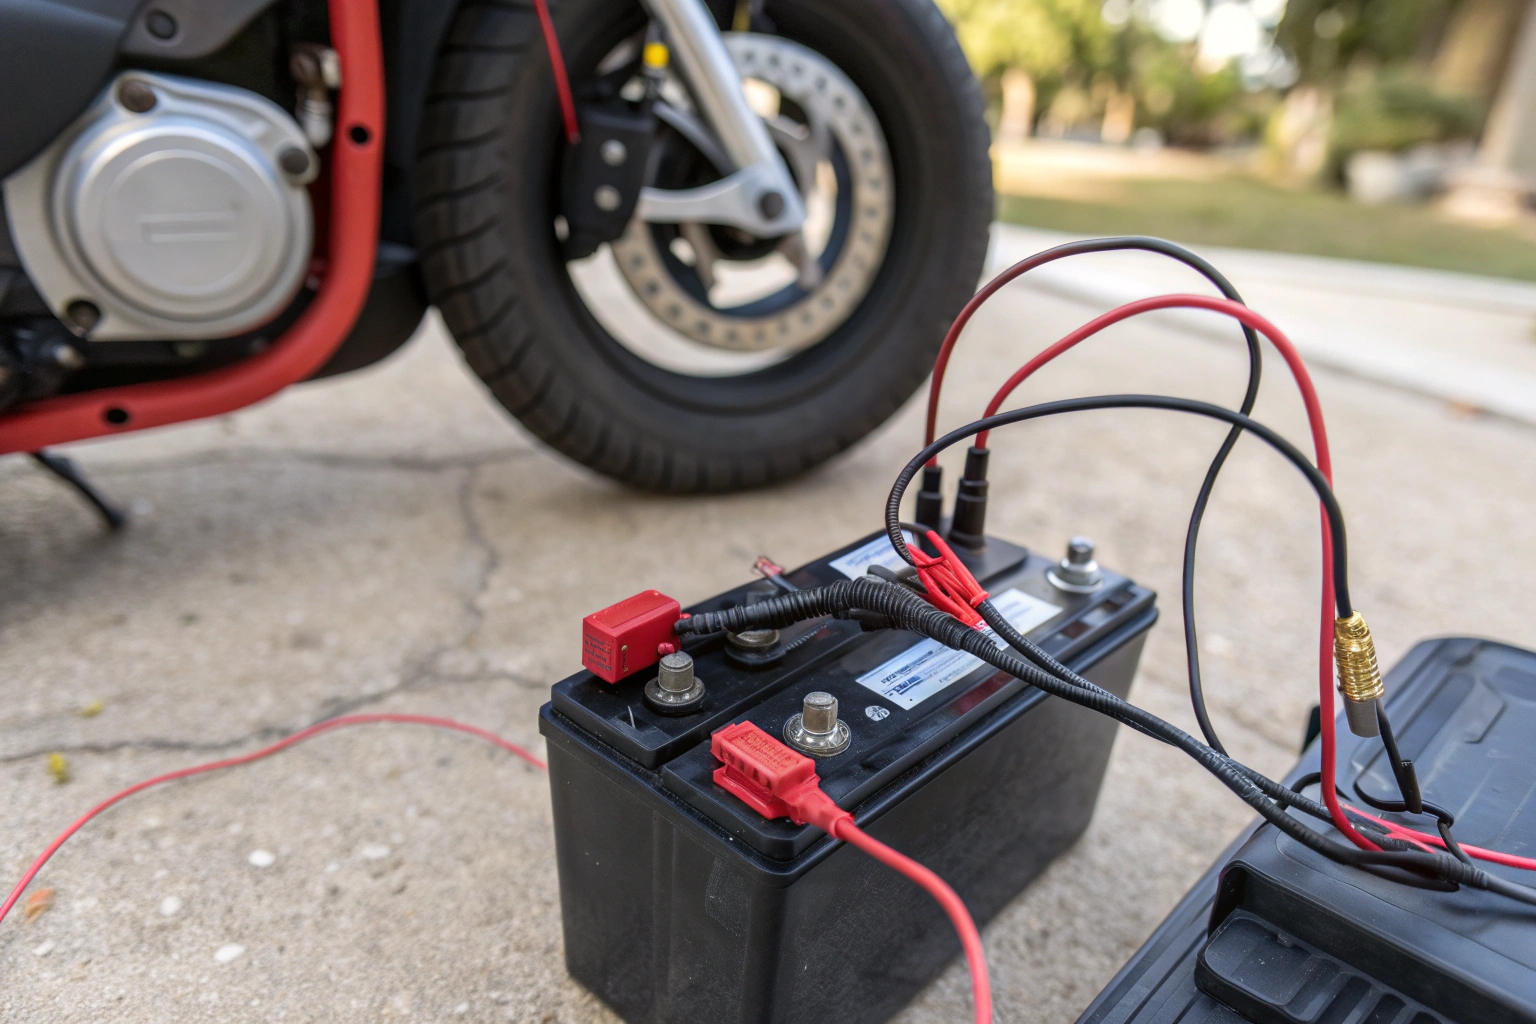
Todos os fios vermelhos e pretos parecem confusos. Conectá -los da maneira errada é uma grande preocupação, mas há um sistema simples a seguir para que você não possa errar.
Os terminais da bateria são marcados com um Plus (+) para positivo e um menos (-) para negativo. Os fios são codificados por cores: o vermelho é positivo e o preto é negativo. Basta combinar as cores.
É aqui que as pessoas ficam mais nervosas, mas é realmente muito direto. Todo o setor usa um código de cores padrão para evitar erros. Seu trabalho é apenas combinar as cores e os símbolos. Vamos quebrá -lo, então é impossível confundir.
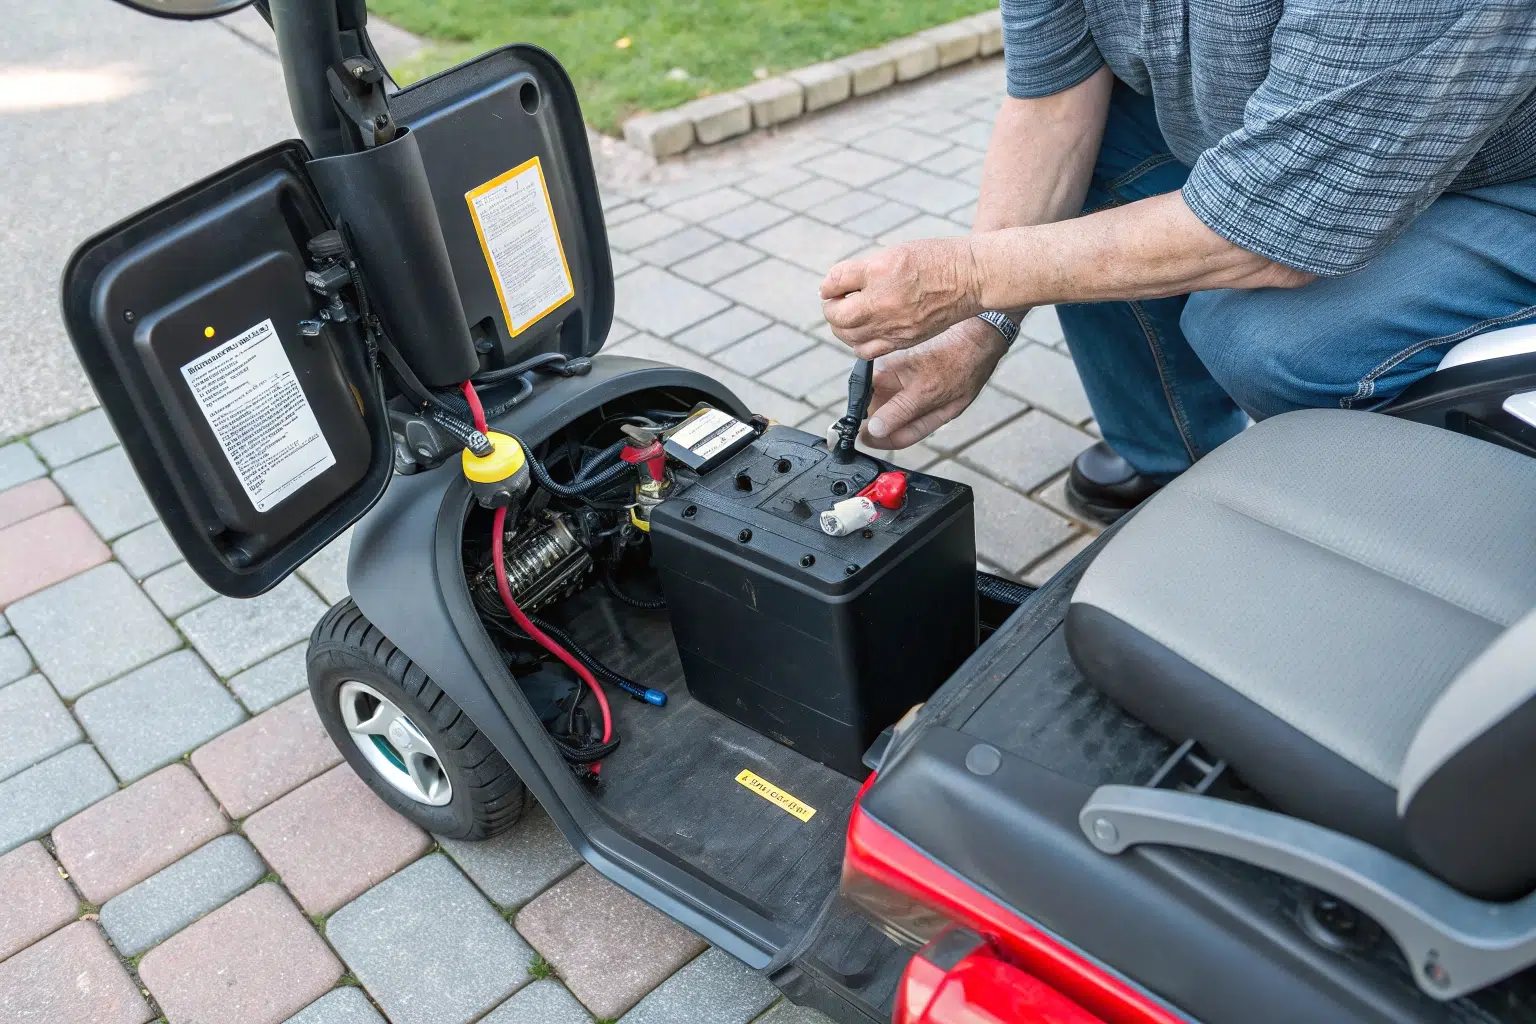
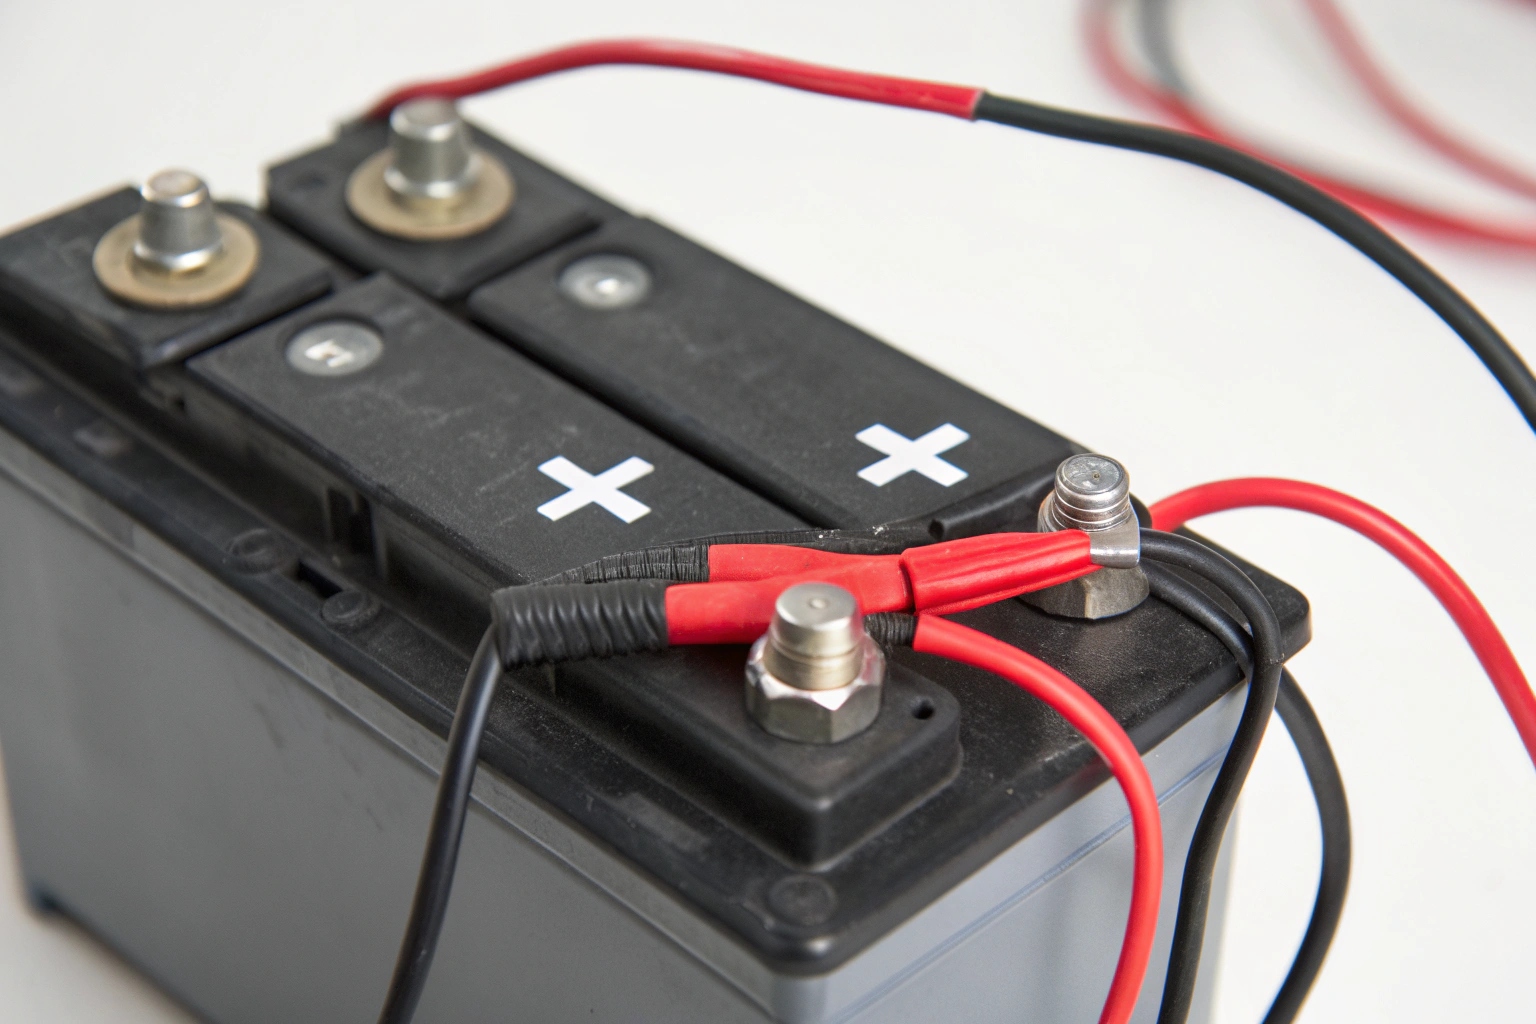
- Na bateria: Olhe para o topo de suas baterias. Você verá duas postagens ou terminais. Um terá um
+Símbolo moldado na caixa plástica ao lado dele. Este é o Positivo terminal. Muitas vezes, ele tem uma tampa de plástico vermelho. O outro terminal terá um-símbolo. Este é o Negativo Terminal, e geralmente tem uma cobertura preta. - Nos cabos da scooter: Os fios provenientes da sua scooter seguirão o mesmo código de cores. O Fio vermelho deve se conectar ao terminal positivo (+). O Fio preto deve se conectar ao terminal negativo (-).
The "Jumper" Cable
You will also see a short cable connecting the two batteries to each other. This is what links the two 12V batteries to create the 24V your scooter needs. Don't worry about this cable. Your "before" picture will show you exactly how it connects. When you put the new batteries in, just connect this jumper cable first, exactly as it was in the photo.
| Cor de fio/terminal | Símbolo | Conecta -se a |
|---|---|---|
| Vermelho | + |
Terminal positivo |
| Preto | - |
Terminal negativo |
Como substituir as baterias em diferentes modelos de scooter?
Você abriu sua scooter, mas não se parece com as fotos online. Encontrar as baterias e tirá -las parece impossível. Geralmente é uma das duas maneiras.
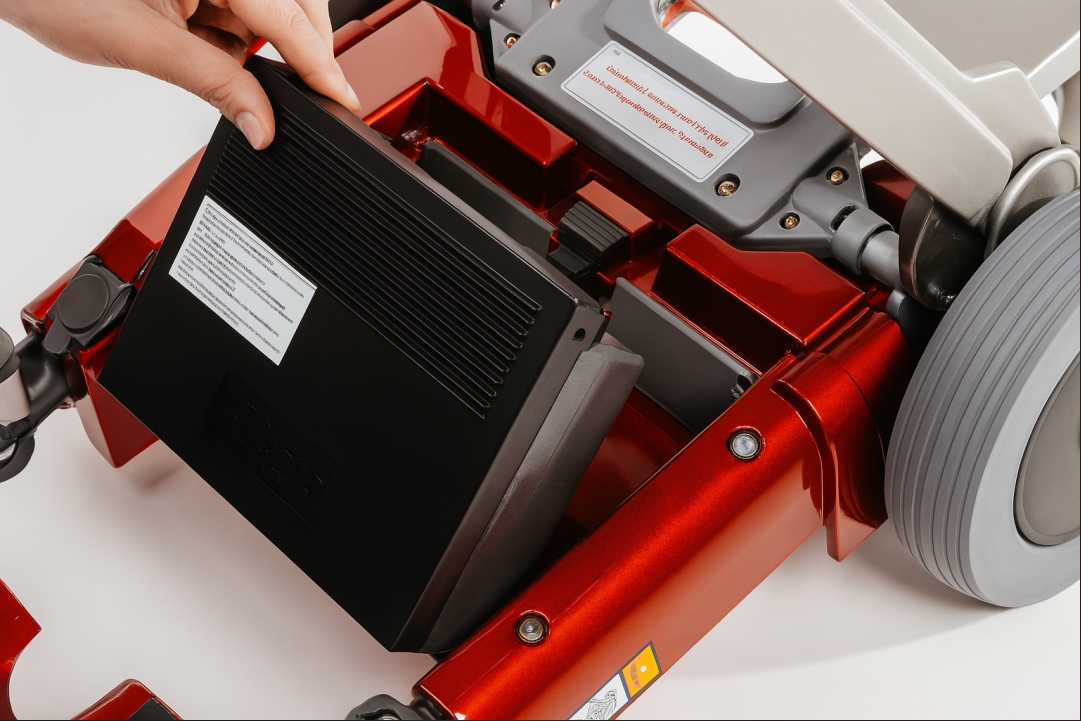
As baterias estão em um pacote removível (comum em scooters de viagem) ou sob uma tampa de plástico sob o assento (em modelos maiores). O pacote levanta, enquanto a tampa deve estar desaparafusada.
Embora existam centenas de modelos de scooter, fabricantes normalmente colocamos as baterias em um dos dois locais principais. O método de substituição é um pouco diferente para cada um, mas o princípio é o mesmo.
Para scooters de viagem / dobra (pacote removível)
Eles são projetados para portabilidade, para que o sistema de bateria seja feito facilmente.
- Localize o pacote: Geralmente, é uma única caixa de plástico preto sentado na tábua da scooter, geralmente com uma alça.
- Levante -o: Muitas vezes, há uma trava simples ou apenas eleva para cima e para fora da scooter.
- Substitua como uma unidade: Para esses modelos, você normalmente compra uma bateria completa e nova. Você simplesmente solta o novo pacote onde estava o antigo. Às vezes, você pode abrir este pacote e substituir as duas baterias menores dentro, mas a maioria das pessoas substitui a unidade inteira.
Para scooters de tamanho médio e grandes (sob o assento)
Nesses modelos mais robustos, as baterias fazem parte do quadro principal da scooter para estabilidade.
- Remova o assento: O assento geralmente apenas levanta para cima e para fora de seu posto de montagem.
- Remova a mortalha: Você verá uma grande tampa de plástico sobre a seção traseira da scooter. Esta é a mortalha. Pode ser mantido no lugar com alguns parafusos ou abas de velcro. Remova -o com cuidado.
- Acesse as baterias: Por baixo, agora você verá claramente as duas baterias de 12V, amarradas e conectadas com fios. É aqui que você começará a desconectá -los.
Quais são os erros comuns a serem evitados ao instalar baterias?
Você tem as novas baterias prontas. Um simples deslize agora pode destruir suas novas baterias ou os eletrônicos da scooter. Não deixe que um pequeno erro se torne um custo enorme.
O maior erro é conectar as baterias para trás (revertendo a polaridade). Isso pode queimar instantaneamente o controlador da scooter. Sempre conecte vermelho a positivo (+) e preto a negativo (-).
Esta é a parte mais crítica de todo o trabalho. Todas as etapas anteriores levam a esse momento. Quando treino equipes de serviço para nossos importadores internacionais, passo mais tempo nesse ponto do que qualquer outra coisa. Conectar uma bateria com a polaridade invertida, mesmo por uma fração de segundo, envia a eletricidade fluindo da maneira errada pelo delicado cérebro eletrônico da sua scooter.
Aqui está o que acontece se você conectar o fio vermelho ao terminal negativo:
- Danos eletrônicos instantâneos: You will likely hear a "pop." That is the sound of your scooter's controller—its most expensive electronic part—burning out. It can also destroy the charger port and other components.
- Fusíveis soprados: Na melhor das hipóteses, você soprará o fusível principal, projetado para proteger contra isso. Mas, muitas vezes, o dano é causado antes que o fusível possa reagir.
- Baterias novas em ruínas: A reversão da polaridade pode danificar permanentemente as novas baterias que você acabou de comprar, reduzindo a vida útil deles ou matando -as completamente.
- Risco de incêndio: No pior cenário, isso cria um grande curto-circuito que pode derreter fios e criar um sério risco de incêndio.
Outros erros comuns:
- Conexões soltas: Não apertar as nozes nos terminais pode levar a um desempenho ruim e faíscas. Deixá -los confortáveis.
- Expertação demais: Não use toda a sua força. O tirotecedor pode quebrar o plástico e quebrar o terminal da bateria.
- Forgetting your "Before" Picture: Se você ficar confuso, essa foto é sua melhor amiga.
Conclusão
Substituir as baterias da scooter é um trabalho seguro e fácil, se você tiver cuidado. Desligue, tire uma foto, combine as cores e verifique seu trabalho. Esta tarefa simples pode economizar seu dinheiro.
