สกูตเตอร์ของคุณตายแล้วและคุณต้องเปลี่ยนแบตเตอรี่ การทำด้วยตัวเองรู้สึกมีความเสี่ยงและความผิดพลาดอาจมีราคาแพง ฉันจะแนะนำคุณตลอดกระบวนการอย่างปลอดภัย
หากต้องการเปลี่ยนแบตเตอรี่สกูตเตอร์อย่างปลอดภัยให้ปิดพลังงานและถอดคีย์ออกก่อน จากนั้นตัดการเชื่อมต่อแบตเตอรี่เก่า (ลบก่อน) ติดตั้งใหม่และเชื่อมต่อพวกเขาเป็นบวกกับบวก (สีแดง) และลบถึงลบ (สีดำ) เพื่อให้มั่นใจว่าการเชื่อมต่อทั้งหมดแน่น
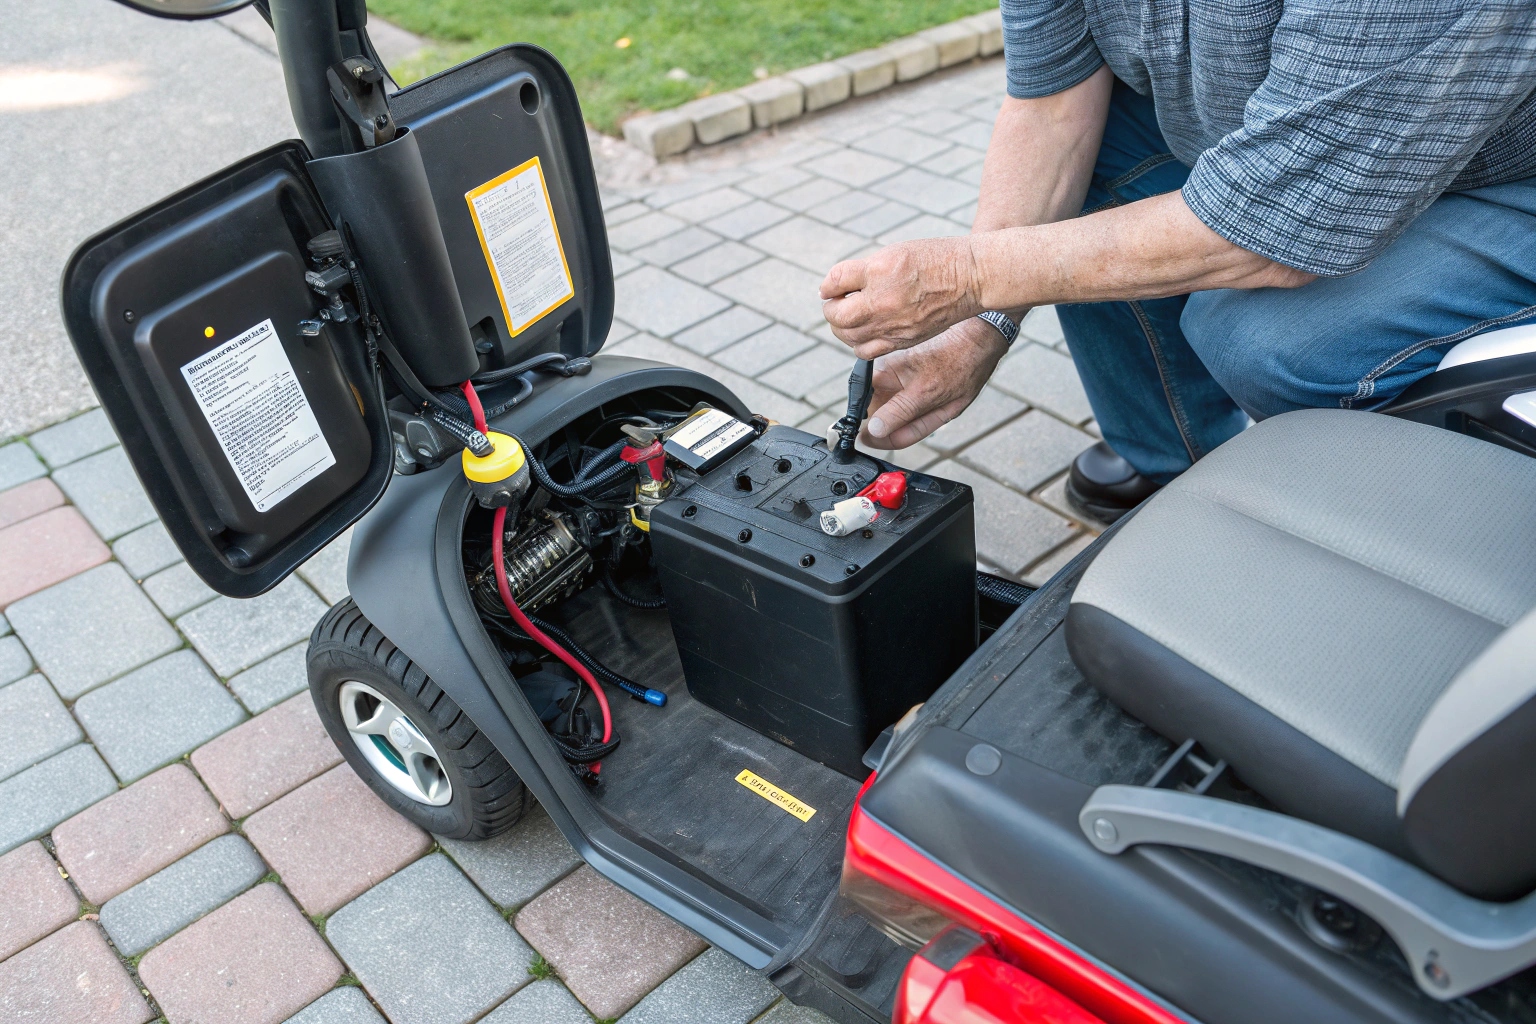
นี่เป็นหนึ่งในงานบำรุงรักษาที่พบบ่อยที่สุดสำหรับสกูตเตอร์การเคลื่อนย้ายใด ๆ หลังจากสองสามปีที่ผ่านมาแบตเตอรี่ก็ไม่ได้มีค่าใช้จ่ายเหมือนที่เคยทำ ที่โรงงานของฉันเราออกแบบสกูตเตอร์ของเราเพื่อให้กระบวนการนี้ง่ายที่สุดเท่าที่จะทำได้ ในขณะที่หลายคนนำสกูตเตอร์ไปที่ตัวแทนจำหน่ายนี่เป็นงานที่คุณสามารถทำได้ที่บ้านอย่างแน่นอน คุณเพียงแค่ต้องระมัดระวังและทำตามขั้นตอนตามลำดับที่ถูกต้อง การเข้าใจผิดอาจเป็นอันตรายและมีค่าใช้จ่ายสูง แต่การทำให้ถูกต้องนั้นง่ายและจะช่วยให้คุณประหยัดเงินได้
ต้องใช้เครื่องมือและขั้นตอนความปลอดภัยใดบ้าง?
คุณต้องการเริ่มงาน แต่ไม่แน่ใจว่าคุณต้องการอะไร การใช้เครื่องมือที่ไม่ถูกต้องหรือข้ามขั้นตอนความปลอดภัยอาจนำไปสู่สกูตเตอร์ที่หักหรือแม้แต่ไฟฟ้าช็อต
คุณต้องการเครื่องมือพื้นฐานเท่านั้น: ไขควงและประแจ ขั้นตอนความปลอดภัยที่สำคัญที่สุดคือการปิดพลังงานทั้งหมดถอดกุญแจและสวมถุงมือก่อนที่คุณจะสัมผัสอะไร
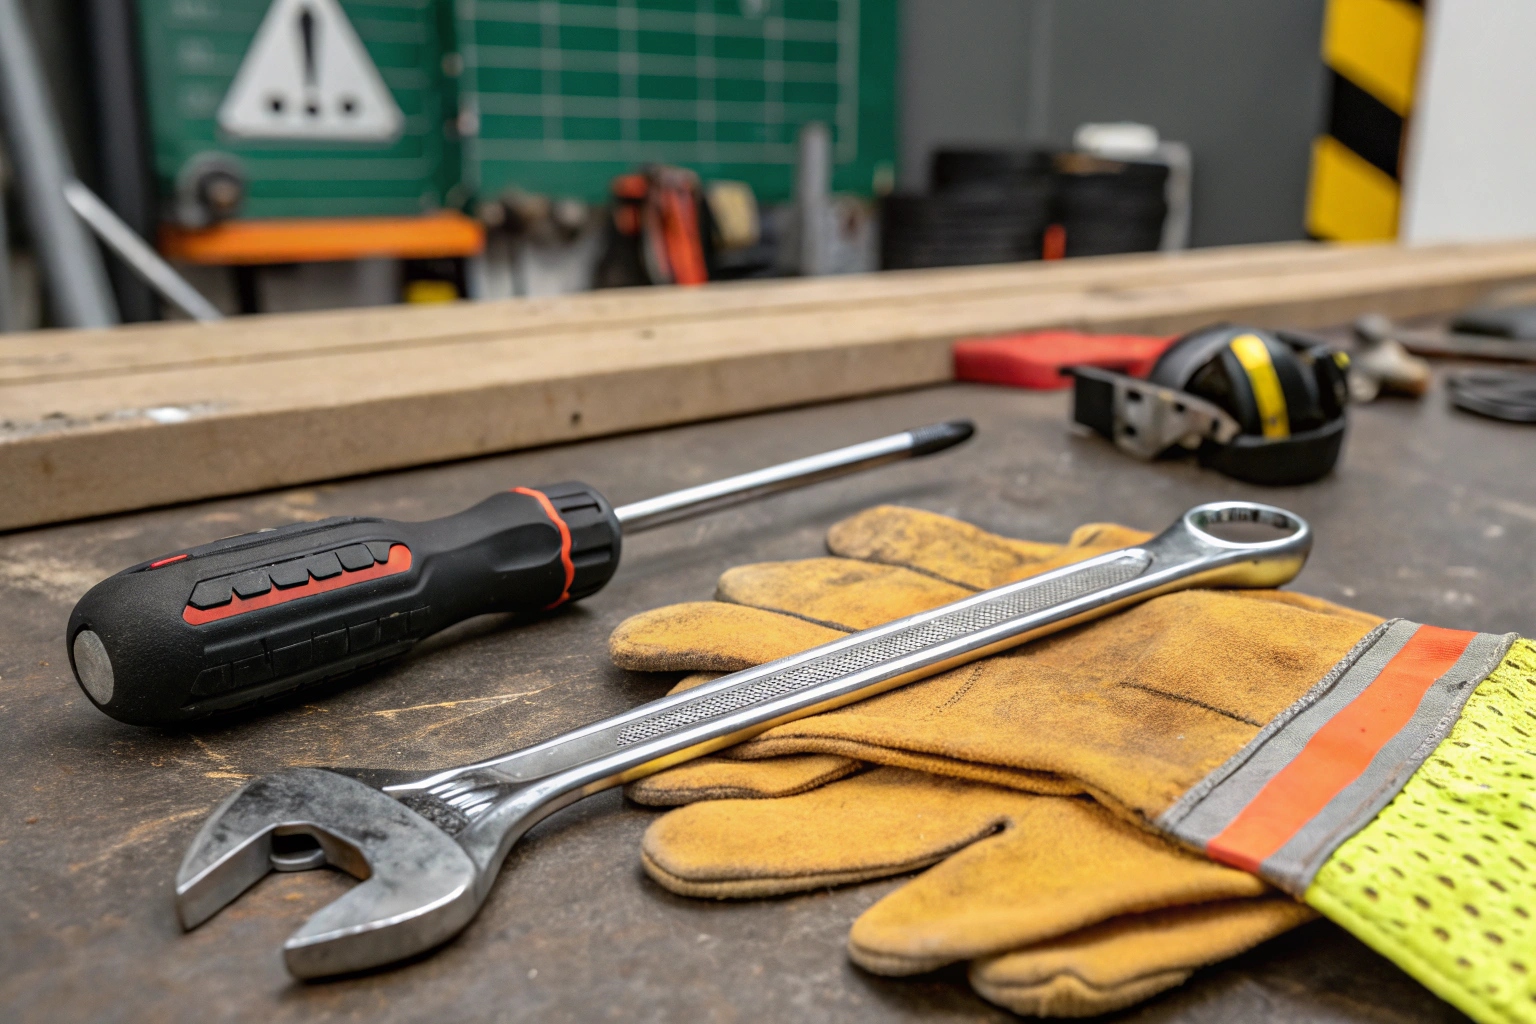
คุณไม่จำเป็นต้องมีกล่องเครื่องมือของช่างมืออาชีพสำหรับงานนี้ เราออกแบบยานพาหนะของเราเพื่อให้บริการด้วยเครื่องมือมือง่าย ๆ ลำดับความสำคัญที่นี่ไม่ใช่ความซับซ้อนของเครื่องมือ แต่ความปลอดภัยของกระบวนการ อัน แบตเตอรี่เก็บพลังงานจำนวนมากและคุณต้องเคารพสิ่งนั้น เครื่องมือโลหะขนาดเล็กที่สัมผัสกับความผิดสองแห่งโดยไม่ตั้งใจสามารถสร้างประกายไฟขนาดใหญ่และลัดวงจร นั่นเป็นเหตุผลว่าทำไมการทำตามลำดับการดำเนินงานที่ปลอดภัยจึงสำคัญมาก
นี่คือขั้นตอนที่แน่นอนที่ฉันสอนช่างเทคนิคใหม่ทั้งหมดของเรา:
- พลังงานลงอย่างสมบูรณ์: เปลี่ยนสวิตช์ไฟของสกูตเตอร์ให้ปิดและที่สำคัญที่สุดคือ ลบคีย์ออกจากการจุดระเบิด- สิ่งนี้จะช่วยป้องกันโอกาสใด ๆ ที่ระบบเปิดใช้งานโดยไม่ตั้งใจในขณะที่คุณกำลังทำงานอยู่
- ทำงานในพื้นที่ที่ดี: ตรวจสอบให้แน่ใจว่าคุณอยู่ในพื้นที่ที่มีแสงสว่างและแห้ง
- สวมถุงมือ: ถุงมือทำงานง่าย ๆ จะช่วยปกป้องมือของคุณจากสิ่งสกปรกและสิ่งสกปรก
- Take a "Before" Picture: ก่อนที่คุณจะถอดสายเดียวให้ใช้โทรศัพท์ของคุณเพื่อถ่ายภาพการตั้งค่าแบตเตอรี่ที่ชัดเจน รูปภาพนี้จะเป็นคู่มือที่สมบูรณ์แบบของคุณสำหรับวิธีการเชื่อมต่อแบตเตอรี่ใหม่ เป็นเคล็ดลับที่มีประโยชน์ที่สุดในหนังสือเล่มนี้
วิธีระบุขั้วแบตเตอรี่และการเชื่อมต่อ?
สายไฟสีแดงและสีดำทั้งหมดดูสับสน การเชื่อมต่อพวกเขาในทางที่ผิดเป็นความกังวลที่สำคัญ แต่มีระบบง่ายๆที่จะติดตามดังนั้นคุณจึงไม่สามารถทำผิดได้
เทอร์มินัลแบตเตอรี่ถูกทำเครื่องหมายด้วยบวก (+) สำหรับบวกและลบ (-) สำหรับลบ สายไฟเป็นรหัสสี: สีแดงมีไว้สำหรับบวกและสีดำเป็นลบ เพียงแค่จับคู่สี
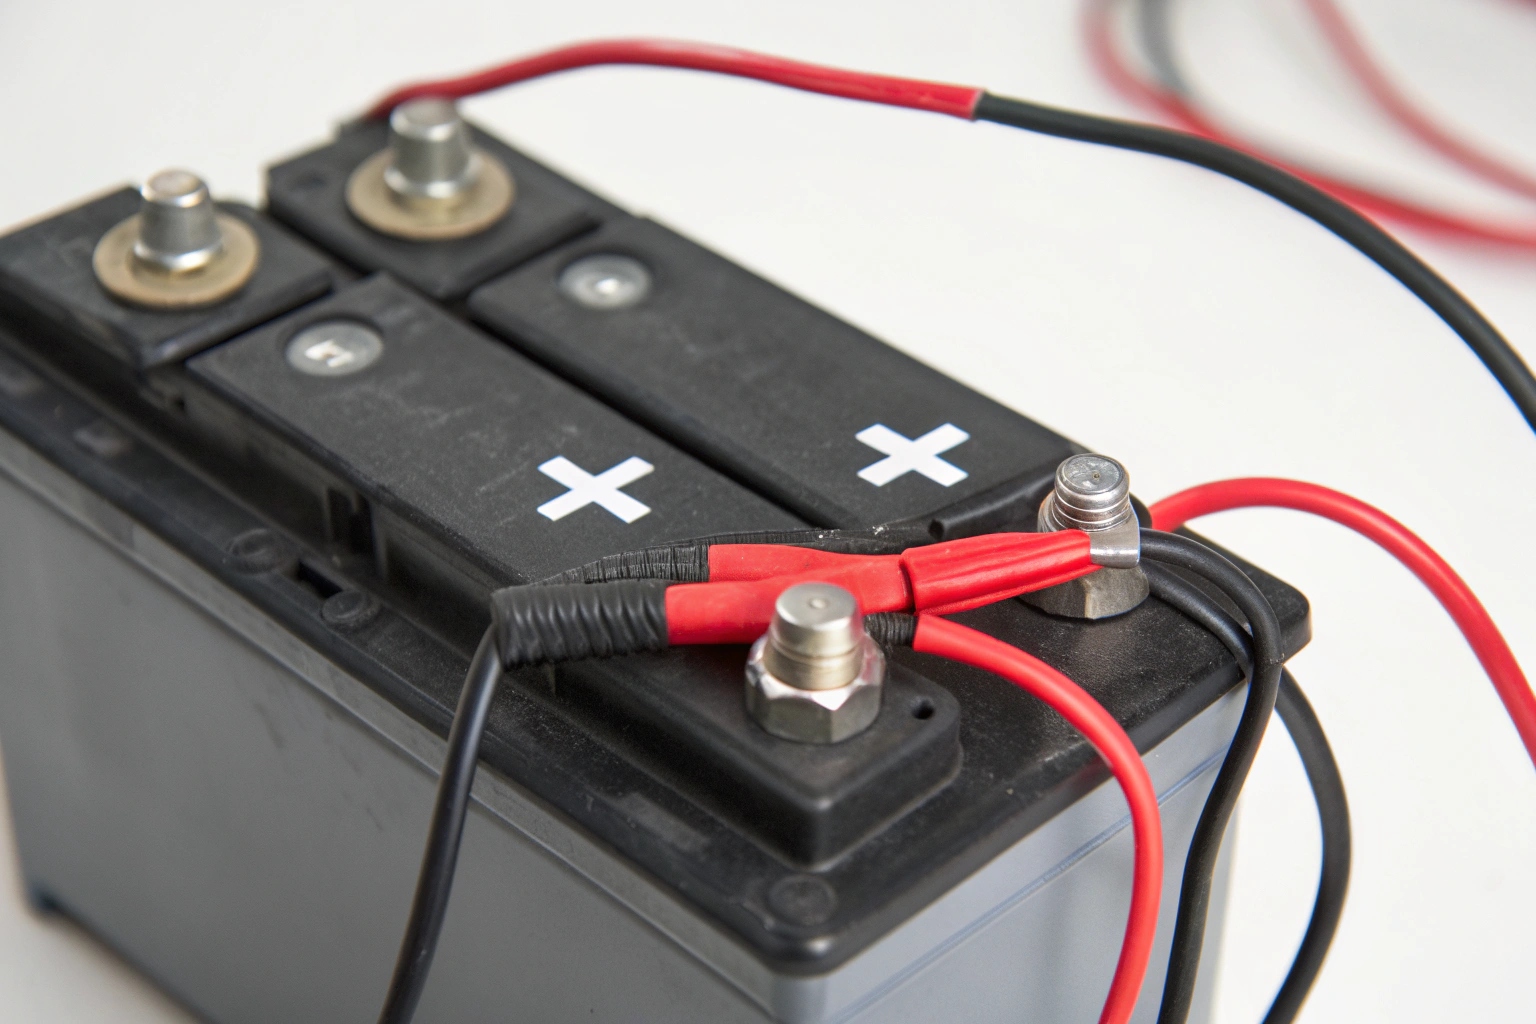
นี่คือที่ที่ผู้คนรู้สึกประหม่ามากที่สุด แต่จริงๆแล้วมันตรงไปตรงมามาก อุตสาหกรรมทั้งหมดใช้รหัสสีมาตรฐานเพื่อป้องกันข้อผิดพลาด งานของคุณคือการจับคู่สีและสัญลักษณ์ เรามาทำลายมันลงกันจึงเป็นไปไม่ได้ที่จะสับสน
- บนแบตเตอรี่: ดูที่ด้านบนของแบตเตอรี่ของคุณ คุณจะเห็นสองโพสต์หรือเทอร์มินัล หนึ่งจะมี
+สัญลักษณ์ที่หล่อหลอมลงในกล่องพลาสติกถัดจากนั้น นี่คือ เชิงบวก เทอร์มินัล. มันมักจะมีฝาครอบพลาสติกสีแดงอยู่ เทอร์มินัลอื่นจะมี-เครื่องหมาย. นี่คือ เชิงลบ เทอร์มินัลและมักจะมีปกสีดำ - บนสายเคเบิลของสกูตเตอร์: สายไฟที่มาจากสกูตเตอร์ของคุณจะเป็นไปตามรหัสสีเดียวกัน ที่ ลวดสีแดง ต้องเชื่อมต่อกับเทอร์มินัลบวก (+) ที่ สายสีดำ ต้องเชื่อมต่อกับเทอร์มินัลลบ (-)
The "Jumper" Cable
You will also see a short cable connecting the two batteries to each other. This is what links the two 12V batteries to create the 24V your scooter needs. Don't worry about this cable. Your "before" picture will show you exactly how it connects. When you put the new batteries in, just connect this jumper cable first, exactly as it was in the photo.
| สีลวด/เทอร์มินัล | เครื่องหมาย | เชื่อมต่อ |
|---|---|---|
| สีแดง | + |
ขั้วบวก |
| สีดำ | - |
ขั้วลบ |
จะเปลี่ยนแบตเตอรี่ในรุ่นสกูตเตอร์ที่แตกต่างกันได้อย่างไร?
คุณเปิดสกูตเตอร์ของคุณแล้ว แต่มันดูไม่เหมือนรูปภาพออนไลน์ การค้นหาแบตเตอรี่และนำออกมาดูเหมือนจะเป็นไปไม่ได้ มันมักจะเป็นหนึ่งในสองวิธี
แบตเตอรี่อยู่ในชุดที่ถอดออกได้ (ทั่วไปบนสกูตเตอร์ท่องเที่ยว) หรือใต้ฝาครอบพลาสติกใต้ที่นั่ง (ในรุ่นที่ใหญ่กว่า) แพ็คยกขึ้นในขณะที่ฝาครอบจะต้องคลายเกลียว
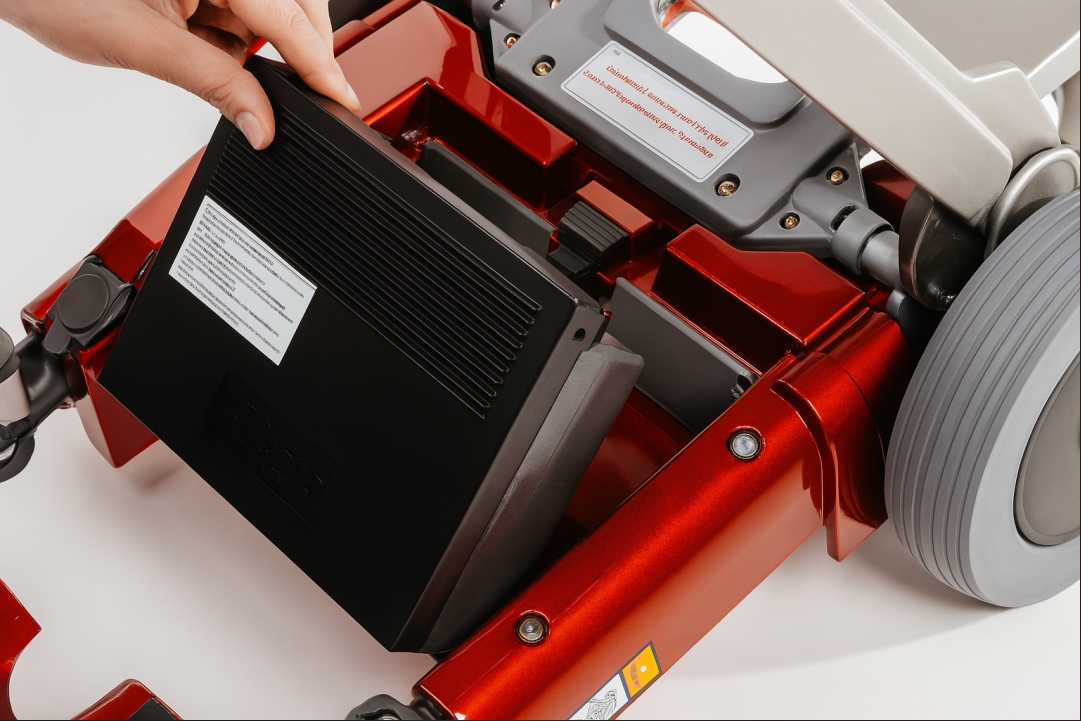
ในขณะที่มีสกูตเตอร์หลายร้อยรุ่น แต่โดยทั่วไปแล้วผู้ผลิตของเราจะวางแบตเตอรี่ไว้ในหนึ่งในสองสถานที่หลัก วิธีการทดแทนนั้นแตกต่างกันเล็กน้อยสำหรับแต่ละคน แต่หลักการเหมือนกัน
สำหรับสกูตเตอร์การเดินทาง / พับ (แพ็คถอดได้)
สิ่งเหล่านี้ถูกออกแบบมาเพื่อการพกพาดังนั้นระบบแบตเตอรี่จึงถูกนำออกมาได้อย่างง่ายดาย
- ค้นหาแพ็ค: โดยปกติแล้วจะเป็นกล่องพลาสติกสีดำเดียวนั่งอยู่บนพื้นของสกูตเตอร์ซึ่งมักจะมีที่จับ
- ยกออก: มักจะมีสลักง่าย ๆ หรือเพียงแค่ยกขึ้นและออกจากสกูตเตอร์
- แทนที่เป็นหน่วย: สำหรับรุ่นเหล่านี้คุณมักจะซื้อชุดแบตเตอรี่ใหม่ที่สมบูรณ์ คุณเพียงแค่วางแพ็คใหม่ในที่ที่เก่าอยู่ บางครั้งคุณสามารถเปิดชุดนี้และแทนที่แบตเตอรี่ขนาดเล็กสองตัวภายใน แต่คนส่วนใหญ่แทนที่ทั้งหน่วย
สำหรับสกูตเตอร์ขนาดกลางและขนาดใหญ่ (ใต้ที่นั่ง)
ในรุ่นที่แข็งแกร่งกว่านี้แบตเตอรี่เป็นส่วนหนึ่งของเฟรมหลักของสกูตเตอร์เพื่อความมั่นคง
- ถอดที่นั่ง: ที่นั่งมักจะยกขึ้นและออกจากเสาติดตั้ง
- ถอดผ้าห่อศพ: คุณจะเห็นฝาครอบพลาสติกขนาดใหญ่เหนือส่วนด้านหลังของสกูตเตอร์ นี่คือผ้าห่อศพ มันอาจจะจัดขึ้นในสถานที่ด้วยสกรูหรือแท็บ Velcro ลบออกอย่างระมัดระวัง
- เข้าถึงแบตเตอรี่: ภายใต้ตอนนี้คุณจะเห็นแบตเตอรี่ 12V สองก้อนอย่างชัดเจนมัดและเชื่อมต่อกับสายไฟ นี่คือที่ที่คุณจะเริ่มตัดการเชื่อมต่อพวกเขา
อะไรคือข้อผิดพลาดทั่วไปที่ควรหลีกเลี่ยงเมื่อติดตั้งแบตเตอรี่?
คุณมีแบตเตอรี่ใหม่พร้อม การลื่นง่าย ๆ ในขณะนี้สามารถทำลายแบตเตอรี่ใหม่ของคุณหรืออุปกรณ์อิเล็กทรอนิกส์ของสกูตเตอร์ อย่าปล่อยให้ความผิดพลาดเล็กน้อยกลายเป็นค่าใช้จ่ายที่ยิ่งใหญ่
ความผิดพลาดที่ใหญ่ที่สุดเพียงครั้งเดียวคือการเชื่อมต่อแบตเตอรี่ย้อนหลัง (การย้อนกลับขั้ว) สิ่งนี้สามารถทำให้คอนโทรลเลอร์ของสกูตเตอร์เผาผลาญได้ทันที เชื่อมต่อสีแดงกับบวก (+) และดำเป็นลบเสมอ (-)
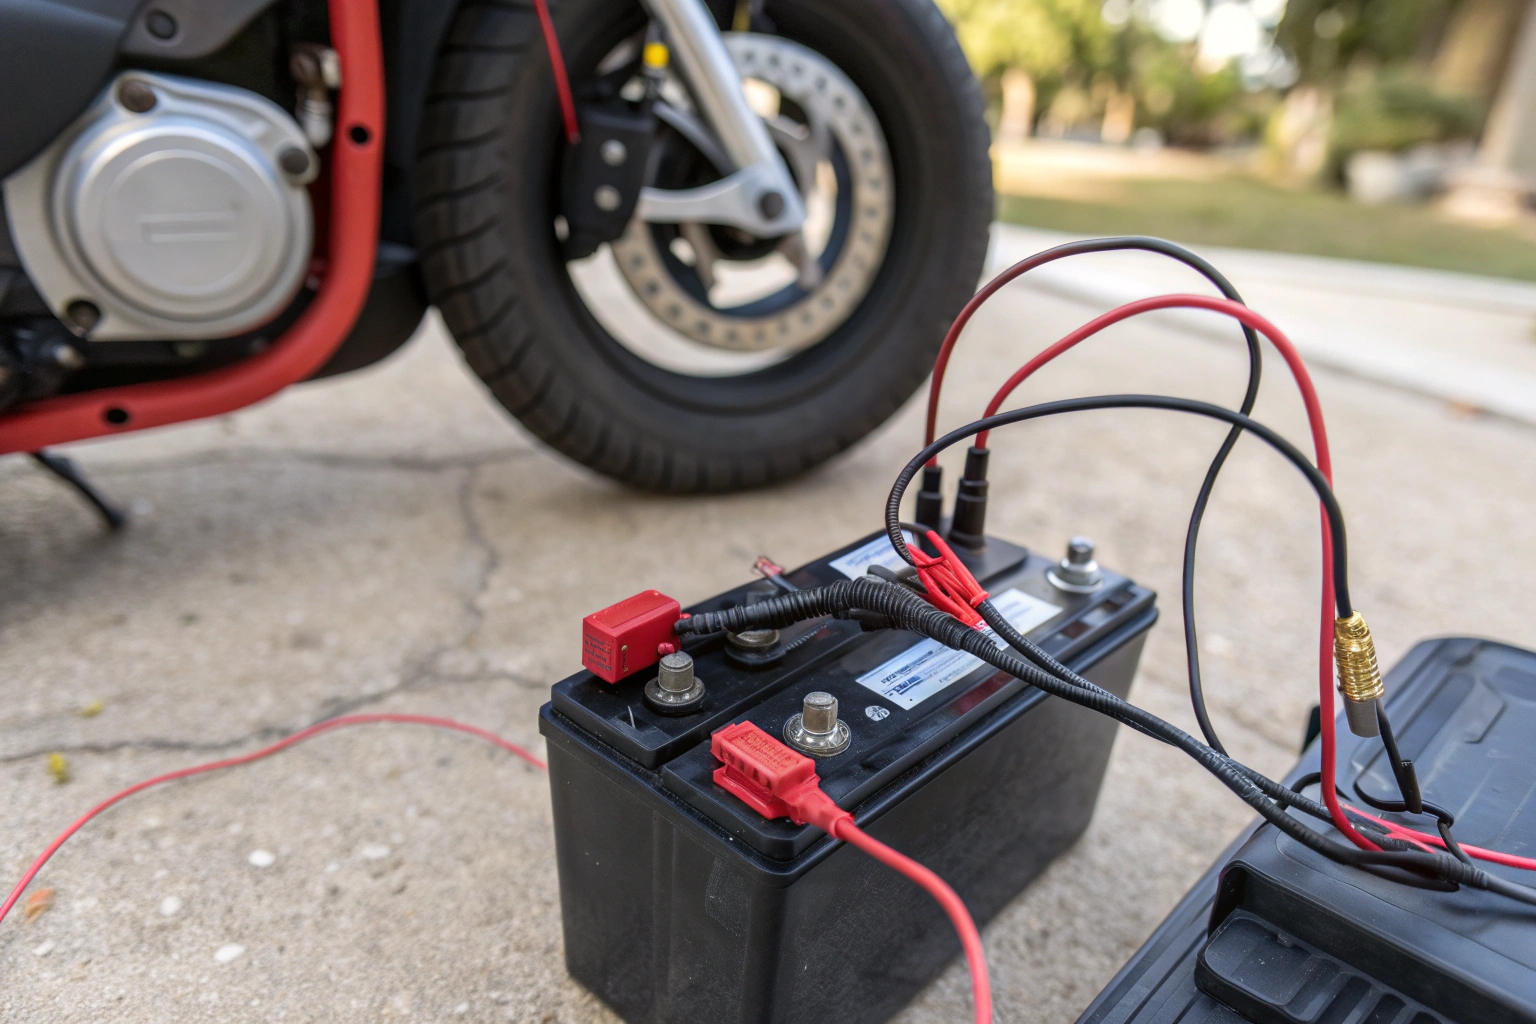
นี่เป็นส่วนที่สำคัญที่สุดของงานทั้งหมด ขั้นตอนก่อนหน้าทั้งหมดนำไปสู่ช่วงเวลานี้ เมื่อฉันฝึกอบรมทีมบริการสำหรับผู้นำเข้าระหว่างประเทศของฉันฉันใช้เวลามากขึ้นในจุดนี้มากกว่าสิ่งอื่นใด การเชื่อมต่อแบตเตอรี่กับขั้วกลับด้านแม้กระทั่งเสี้ยววินาทีส่งกระแสไฟฟ้าที่ไหลไปทางที่ผิดผ่านสมองอิเล็กทรอนิกส์ที่ละเอียดอ่อนของสกูตเตอร์ของคุณ
นี่คือสิ่งที่จะเกิดขึ้นถ้าคุณเชื่อมต่อสายสีแดงเข้ากับขั้วลบ:
- ความเสียหายทางอิเล็กทรอนิกส์ทันที- You will likely hear a "pop." That is the sound of your scooter's controller—its most expensive electronic part—burning out. It can also destroy the charger port and other components.
- ฟิวส์เป่า: ที่ดีที่สุดคุณจะระเบิดฟิวส์หลักซึ่งออกแบบมาเพื่อป้องกันสิ่งนี้ แต่บ่อยครั้งที่ความเสียหายเกิดขึ้นก่อนที่ฟิวส์จะตอบสนองได้
- ทำลายแบตเตอรี่ใหม่: การย้อนกลับขั้วสามารถสร้างความเสียหายอย่างถาวรแบตเตอรี่ใหม่ที่คุณเพิ่งซื้อลดอายุการใช้งานหรือฆ่าพวกเขาอย่างสมบูรณ์
- อันตรายจากไฟไหม้- ในสถานการณ์ที่เลวร้ายที่สุดสิ่งนี้จะสร้างวงจรลัดวงจรที่สำคัญที่สามารถละลายสายและสร้างความเสี่ยงที่ร้ายแรงของไฟ
ข้อผิดพลาดทั่วไปอื่น ๆ :
- การเชื่อมต่อที่หลวม: การไม่กระชับถั่วในเทอร์มินัลสามารถนำไปสู่ประสิทธิภาพและประกายไฟที่ไม่ดี ทำให้พวกเขาสบาย
- การทำให้แน่นเกินไป: อย่าใช้ความแข็งแกร่งทั้งหมดของคุณ Overtightening สามารถแตกพลาสติกและทำลายขั้วแบตเตอรี่
- Forgetting your "Before" Picture: หากคุณสับสนรูปนั้นเป็นเพื่อนที่ดีที่สุดของคุณ
บทสรุป
การเปลี่ยนแบตเตอรี่สกูตเตอร์เป็นงานที่ปลอดภัยและง่ายหากคุณระมัดระวัง ปิดการถ่ายภาพจับคู่สีและตรวจสอบงานของคุณอีกครั้ง งานง่าย ๆ นี้สามารถประหยัดเงินได้

